Use the current QIDI Plus5 maintenance manual for this printer’s exact hardware. The English page is titled “X-Plus 5 Maintenance Manual” and appears under Plus5 in the manufacturer’s navigation. Confirm the model before applying any task. The manual gives separate schedules for Z lead screws and X/Y linear shafts; it does not set one whole-printer interval.
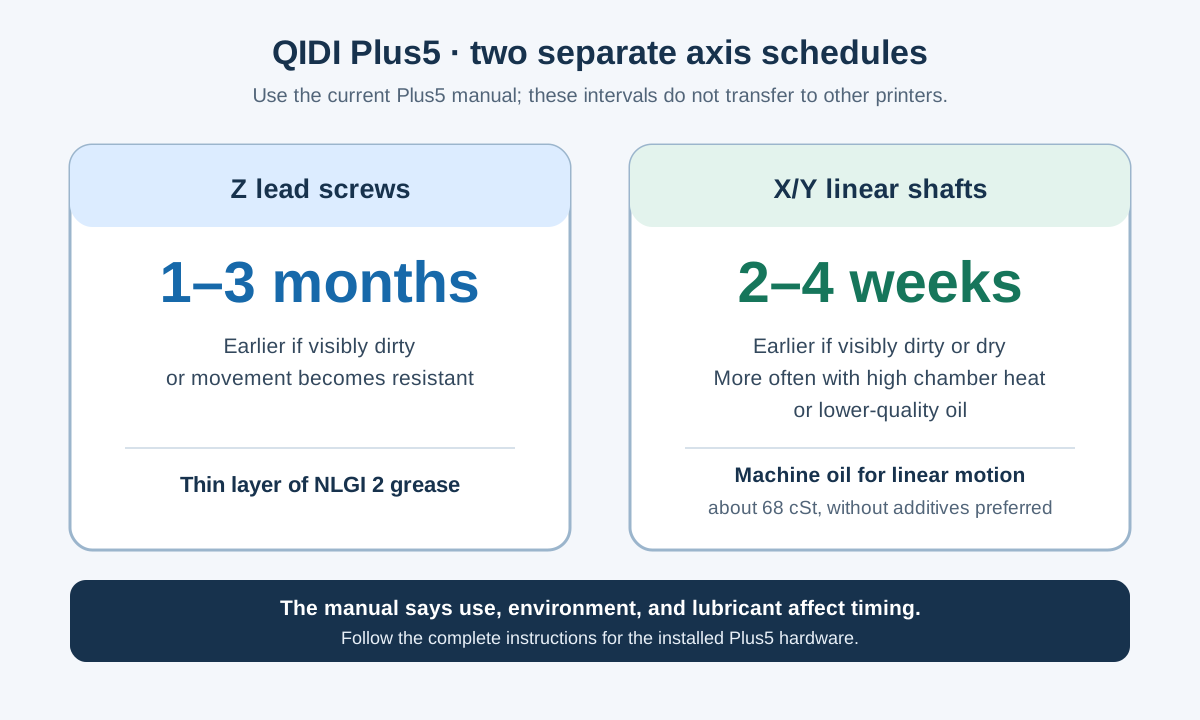
Keep the axis schedules separate
| Component | Manual trigger | Source-bounded care |
|---|---|---|
| Z lead screws | Check and grease every 1–3 months, depending on printer use, grease, and environment. Act earlier if a screw is visibly dirty or movement becomes resistant. | The manual recommends cleaning dust, plastic, and old grease before applying a thin layer of NLGI 2 grease. Follow the complete current manual for its bed-movement and excess-grease steps and the safe state for the installed machine. |
| X/Y linear shafts | Clean and lubricate every 2–4 weeks, or sooner when visibly dirty or dry. Higher chamber temperatures or lower-quality oil may require more frequent care. | The source names machine oil for linear motion and prefers about 68 cSt without additives. It says sewing-machine or 3-in-1 oil may be used as a substitute, with more frequent reapplication. Keep any lubricant on the named component. |
These are different component triggers, not a reason to service every axis together. Record the source interval, date, use and environment, visible condition, lubricant used, and next check. If the installed part, lubricant, or source instructions do not match the printer, stop and confirm the configuration before maintenance. The model-specific maintenance baseline has a broader record format.
Identify the four fan locations
The manual names four fans for dust checks: the hotend-cooling fan on the left wall of the toolhead, the part-cooling fan behind the toolhead, the auxiliary part-cooling fan on the chamber’s right wall, and the chamber-heater fan on its left wall. It gives no fixed fan-cleaning interval, so inspect the named fans and record dust, noise, or an observed fault rather than inventing a calendar cadence.
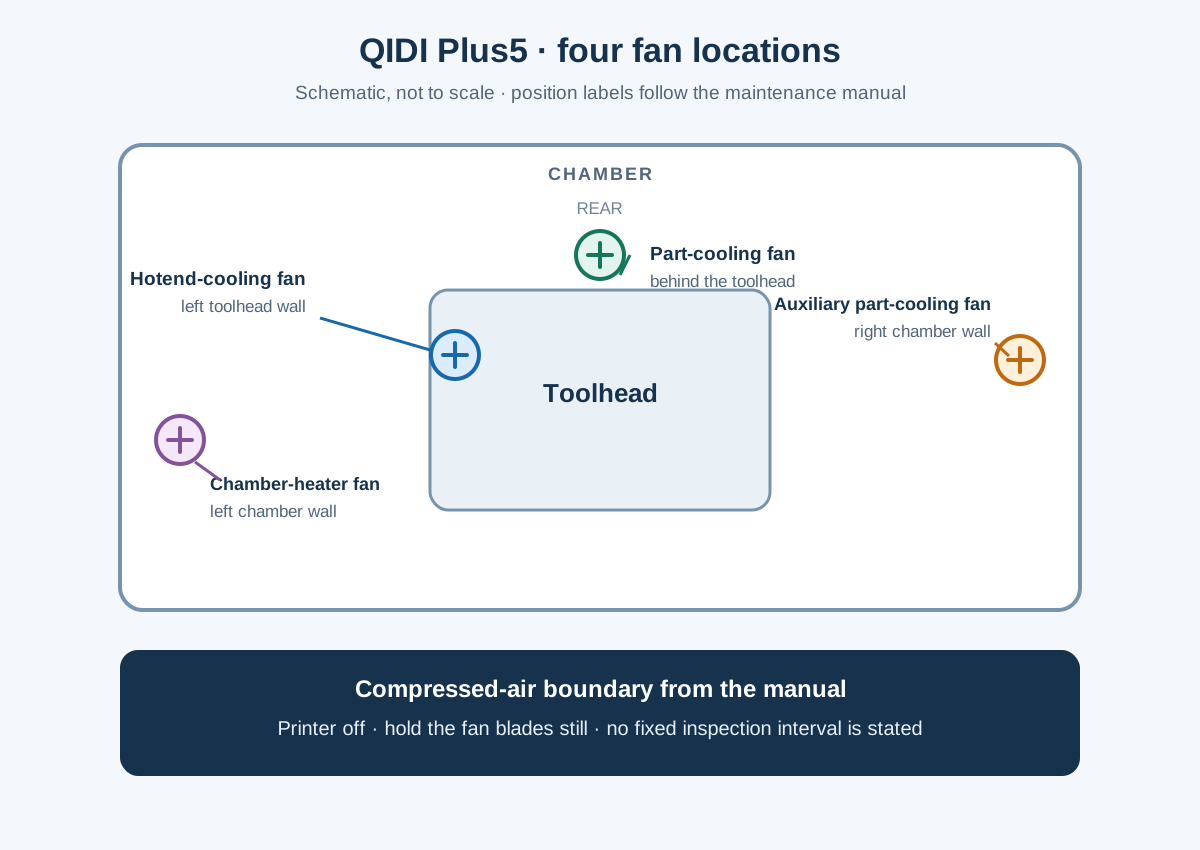
For compressed-air cleaning, the manual says to switch the printer off and hold the fan blades in place. Follow the full current Plus5 instructions for the installed hardware; the fan check does not authorize opening a guarded assembly or handling wiring.
Keep nozzle replacement separate
The manual’s hotend and nozzle section does not give a recurring replacement interval. It points to separate video instructions for nozzle replacement and thermal-grease application. This schedule is not a replacement procedure: use the complete current Plus5 instructions and verify the installed hotend before any hot or tool-dependent work.
The Plus5 schedule must not be copied to the QIDI Q2. For that model, use its separate QIDI Q2 maintenance schedule . For symptoms that may involve motion, fans, or sensors, see belts, rails, fans, and sensors ; after a service change, use repair verification .
Back to top ↑