Use a feature-specific test when the question is why a bridge sags, an unsupported overhang curls, or a small feature softens during a short layer. These are related cooling and process problems, but they are not the same measurement. Choose one visible result and hold the geometry still while comparing a control. The result applies to the printer, material, slicer, and feature you tested; it is not a universal fan setting, maximum span, or support-free angle.
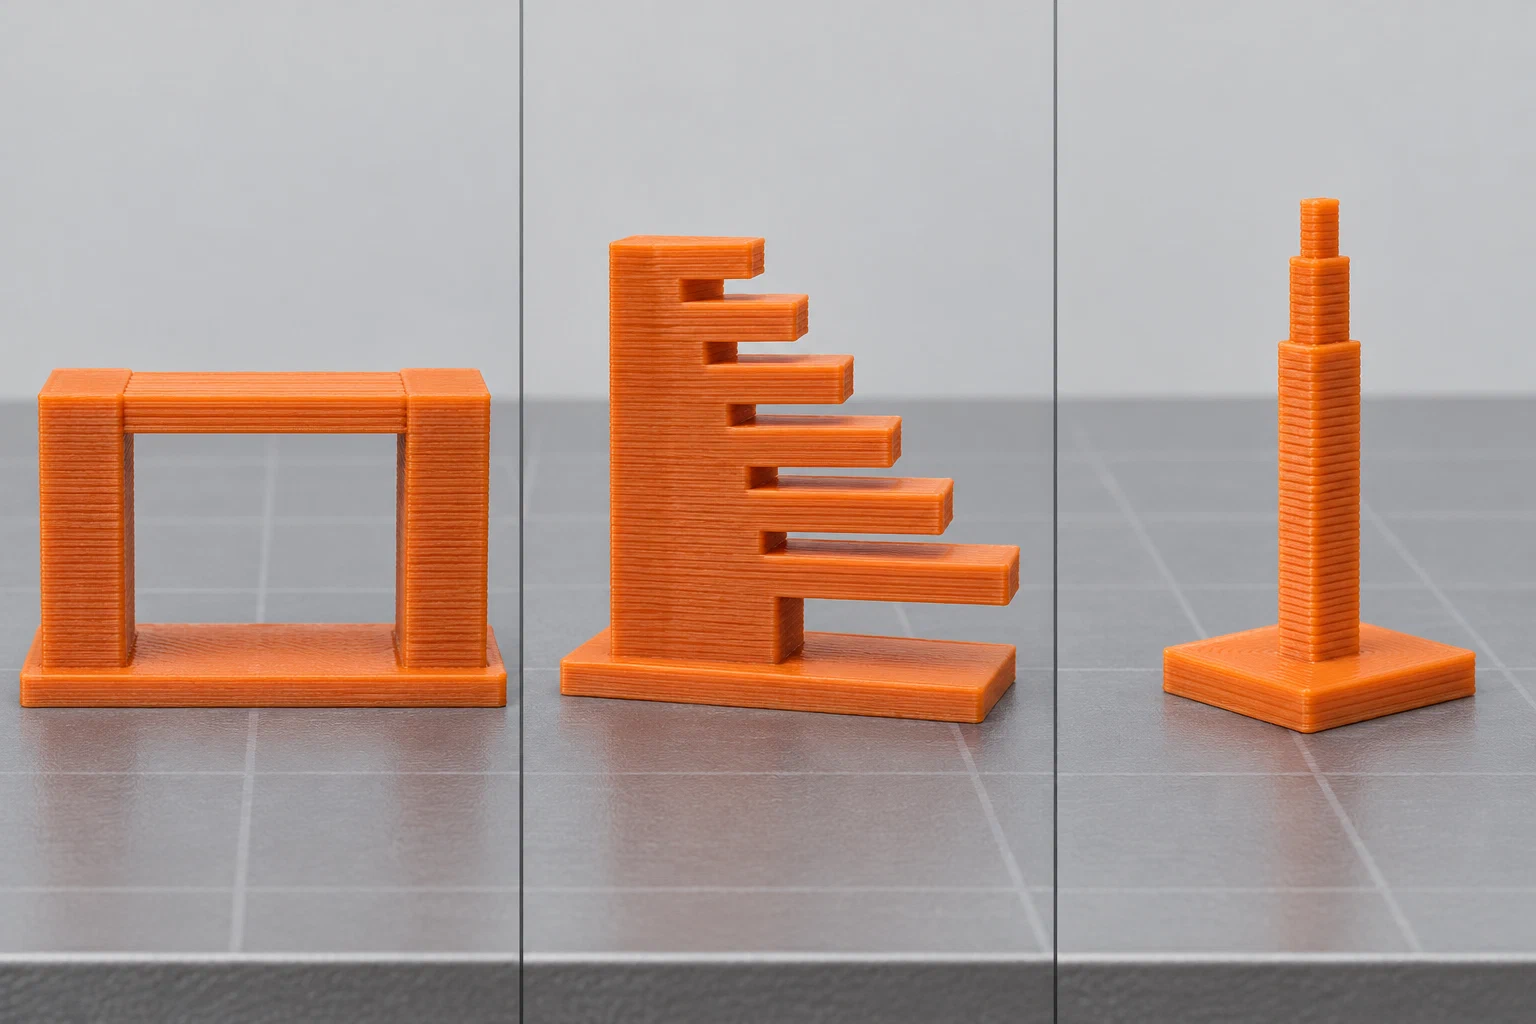
Illustrative feature geometry; no printer-specific cooling result is shown.
Separate the feature from the geometry
A bridge is a line printed across a gap between supported ends. An overhang extends outward from the layer below and can be printed with a different speed or cooling rule. A short layer gives a small area little time to cool before the next pass. In a slicer, the generated feature labels determine which settings apply, so the preview and output matter as much as the value shown in a profile. Orientation, support placement, and whether the geometry should be redesigned belong to model preparation and printability when the question is about the shape rather than the process.
Before changing a setting, record the exact printer and firmware, nozzle and fan hardware, filament product and dry state, plate, slicer release, printer/material/process profiles, temperature, layer height, line width, speed, cooling schedule, and enclosure or room context. Make sure the first layer is stable, the fan works as expected, and the material is within the manufacturer’s usable process range. A wet spool, poor first layer, loose duct, or inconsistent geometry can make a cooling comparison misleading.
Check what the slicer will print
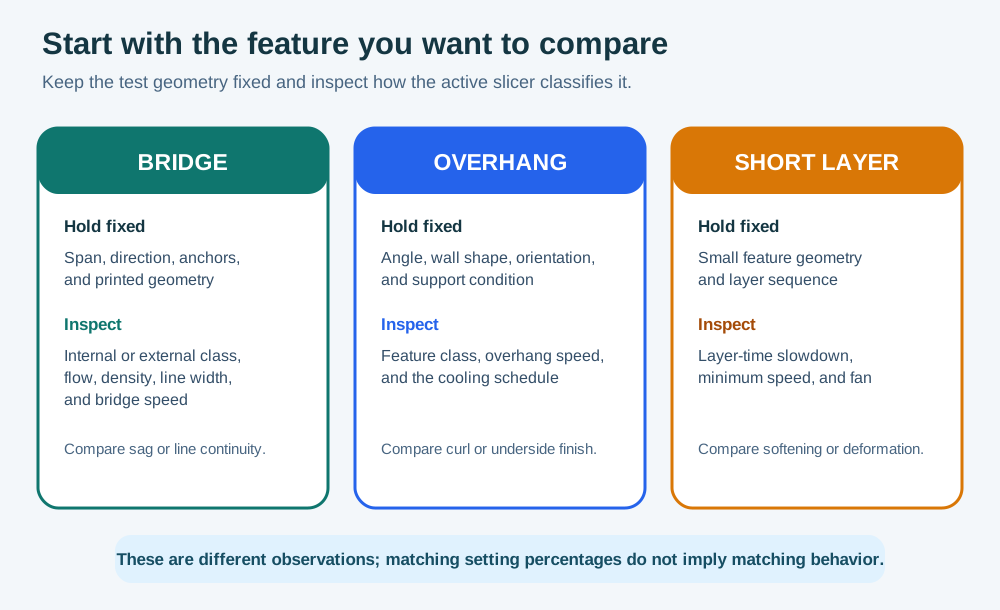
Select a test object that repeats the feature you care about. Keep its dimensions, orientation, position, supports, and anchoring identical between comparisons. For bridges, note whether lines are internal or exposed and record the span and direction. For an overhang, keep the angle, wall thickness, and edge shape fixed. For a short-layer test, keep the same small feature and layer sequence.
Preview the sliced result and confirm how the chosen release classifies each feature. Inspect the generated fan schedule, bridge or overhang speed, layer-time slowdown, and minimum print speed. Automatic cooling can change print speed as well as fan demand, so a “cooling” change may alter two process conditions. Bridge flow, density, line width, and extra bridge layers can also affect the result; hold them constant during a fan comparison, or test one of them separately. OrcaSlicer and PrusaSlicer expose different controls and release-sensitive behavior, so do not assume matching percentages have matching effects.
Run one controlled comparison
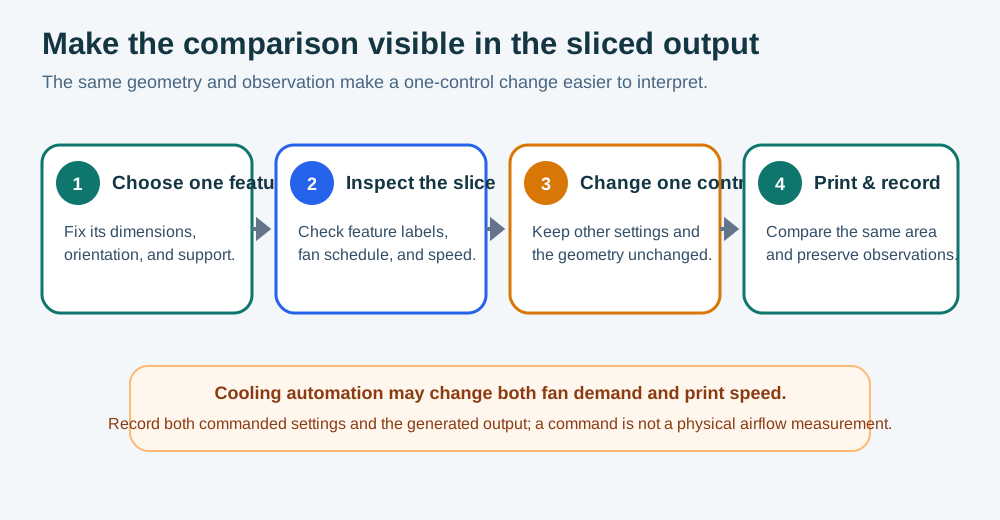
- Choose one outcome: less bridge sag, a cleaner overhang underside, less curling, or a more stable short-layer feature. Keep separate outcomes separate instead of combining them into a single “quality” score.
- Keep the material, geometry, orientation, nozzle, temperature, plate, and other process settings fixed. Change one intended control at a time, such as the feature fan rule, layer-time behavior, overhang speed, or bridge setting.
- Check the preview or generated G-code to confirm that the intended change reached the feature and that unrelated overrides did not change. Record commanded fan settings and generated speeds; do not describe a slicer command as a physical airflow measurement.
- Print the same test under the same setup. Compare the same feature and location each time. Record the number of prints and the actual observations. If you measure sag or a dimension, state the location, method, and units; keep visual ratings clearly visual.
More fan is not always better. Stronger cooling can help a feature hold its shape, while excessive or poorly directed cooling can worsen warping or layer separation for some materials. Bridge-flow and density changes also trade sag, surface appearance, line contact, and support for later infill. Choose a provisional profile based on the outcome you need, then verify it on representative, non-critical geometry. A clean bridge or attractive underside is not a strength test or acceptance result.
If the geometry needs a different orientation or support strategy, see printability guidance . If the defect continues beyond the tested feature, return to troubleshooting and check material condition, extrusion, temperature, and printer state before widening the adjustment. Use the temperature-tower test when the variable in question is nozzle temperature, and flow calibration when it is extrusion quantity or hotend capacity.
Back to top ↑