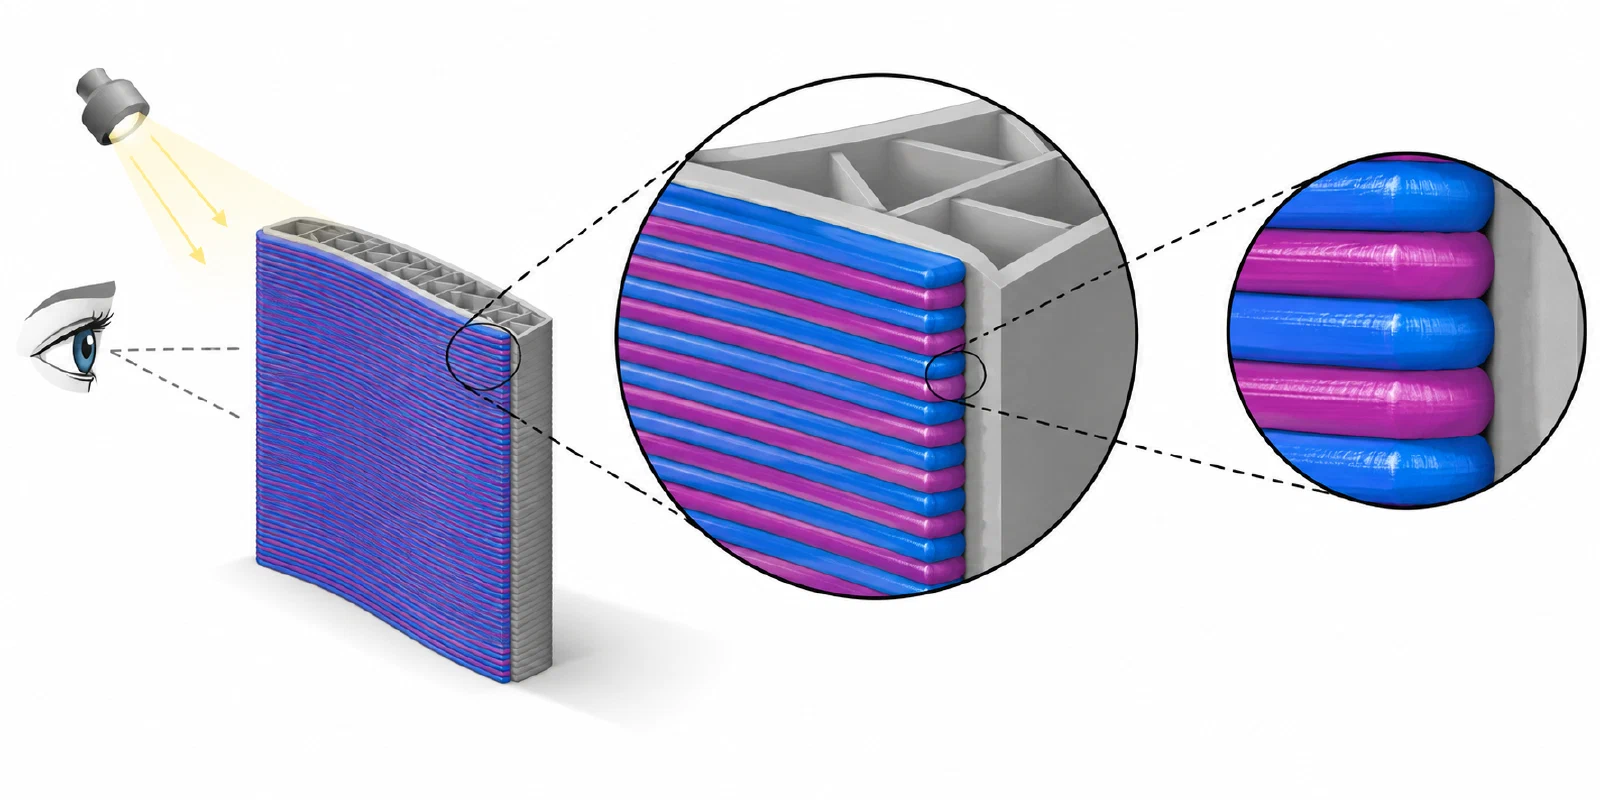
Intentional optical mixing is a different job from painting separate regions with different filaments. In a mixed-color workflow, tool changes place selected colors in a planned layer sequence so the eye blends them. Purge contamination is unwanted carryover from a previous color. None of these tells you whether two materials will bond or whether a part is structurally suitable. This guide is for choosing and checking a decorative appearance, not for guaranteeing a target color or mechanical result.
Confirm the workflow and its inputs
The worked example here is Snapmaker U1 with Snapmaker Orca Full Spectrum. Check the current feature guide and release information for the installed Snapmaker Orca build; do not infer feature availability from a similar app or version label. Snapmaker’s FAQ limits the mixing workflow to PLA and says not to mix different material types such as PLA with PETG or PVA. That visual-mixing limit is separate from any broader material-pair labels elsewhere in the product documentation.
For the documented U1 bundle, the four toolheads map to these colors:
| Toolhead | Reference code | Base color |
|---|---|---|
| 1 | F1 | Cyan, #08ABFB |
| 2 | F2 | Magenta, #D93B90 |
| 3 | F3 | Yellow, #F9ED3D |
| 4 | F4 | Gray, #9199A4 |
Record the exact filament products, color codes, tool assignments, printer, software build, and settings. The four physical positions do not mean every mode uses all four colors. Do not reuse this mapping as a generic tool-number convention for another machine.
Choose a mode for the visual task
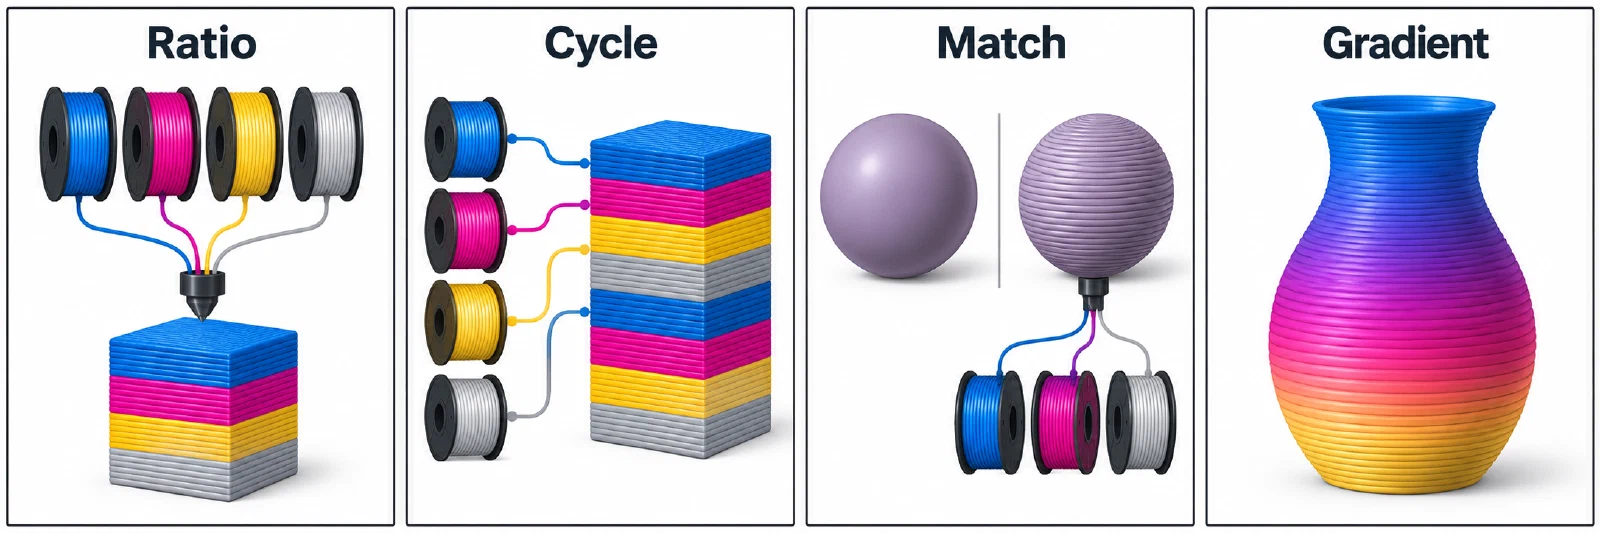
Snapmaker’s FAQ names four Full Spectrum modes. Ratio sets proportions among selected filaments. Cycle defines which filament appears at each print layer. Match starts from a target color and suggests a filament combination and ratio. Gradient creates a gradual transition using selected colors. These controls describe different ways to form an appearance; they are not interchangeable with discrete color painting or with similarly named controls in another slicer.
The Full Spectrum Color Reference lists 39 named swatches and their F1–F4 ratios. Use a row as a starting recipe only within its stated U1/PLA context. For example, A27 lists F1 at 50% and F2 at 50%; the row name does not establish a measured color value or guarantee that your print will look like the source image. The reference recommends keeping each base color between 33% and 67% for its two-color blends. It also cautions that filament properties, geometry, settings, lighting, and display can change the result.
Snapmaker’s FAQ recommends a nozzle diameter of 0.4 mm or smaller and a layer height of 0.1 mm or smaller for this workflow. Treat those as manufacturer recommendations for the named feature, and confirm the current instructions for your printer and build. The preview is a planning aid: the source says the printed appearance can differ with filament, ratio, layer height, geometry, toolpaths, and print conditions.
Print and record a small local swatch
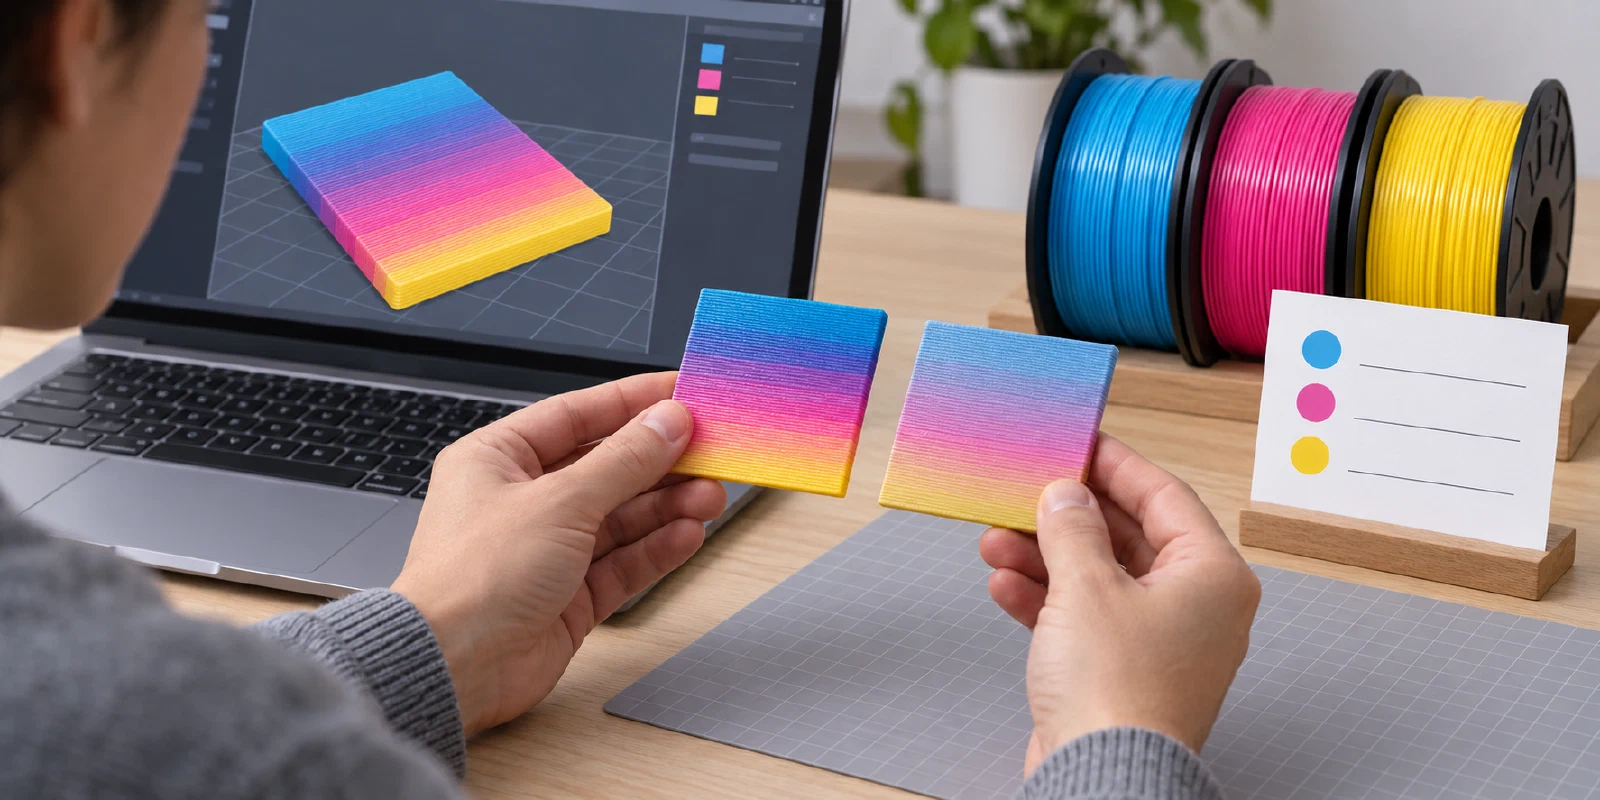
Before a larger model, choose a swatch that contains the color transitions or gradient direction you care about. Keep the swatch geometry simple enough to reproduce, and use the same profile and model features that matter to the real job. Record:
- printer and software/build, mode, source recipe or target, and whether the project was painted by region or assigned to the whole model;
- filament product and color for every mapped tool, the physical tool map, ratios or layer sequence, and any gradient direction;
- nozzle, layer height, geometry and orientation, walls, infill, and any layer-subdivision controls used by the feature;
- the sliced preview and generated job identity, then the actual swatch appearance under the lighting where the finished object will be viewed.
Compare the print with your intended appearance, not only with the on-screen preview. If it misses, change one controlled input such as the ratio or layer sequence, print another small swatch, and preserve both results with their settings. Do not treat a successful software preview or a manufacturer’s example swatch as a test of your own filament lot, machine, lighting, or geometry. The available reference does not establish a colorimetric tolerance, repeatability range, or universal calibration target.
If the result has an unintended color tail after a change, investigate purge and transition behavior in purge, wipe, and support-interface settings . If the wrong color or tool reaches the model, revisit material mapping and loading . Those are different problems from an intentional blend that simply looks different from its preview.
Keep other slicer workflows separate
Creality Print 7.3 release notes describe a separate workflow with target-color matching, OBJ color import, and height or region gradients. The same release discusses reusing purge in hidden object infill with protective regions and a wipe-tower fallback; those settings belong in the purge decision and need their own preview. Do not transfer Full Spectrum ratios, tool mappings, or appearance expectations to Creality Print. Its reported color results are vendor claims, not independent measurements or a guarantee for your printer and materials.
This page contains a bounded workflow based on manufacturer documentation. No portal printer, filament, colorimeter, or swatch was tested. Record any locally verified result with its exact setup before relying on it for a larger decorative print.
Back to top ↑