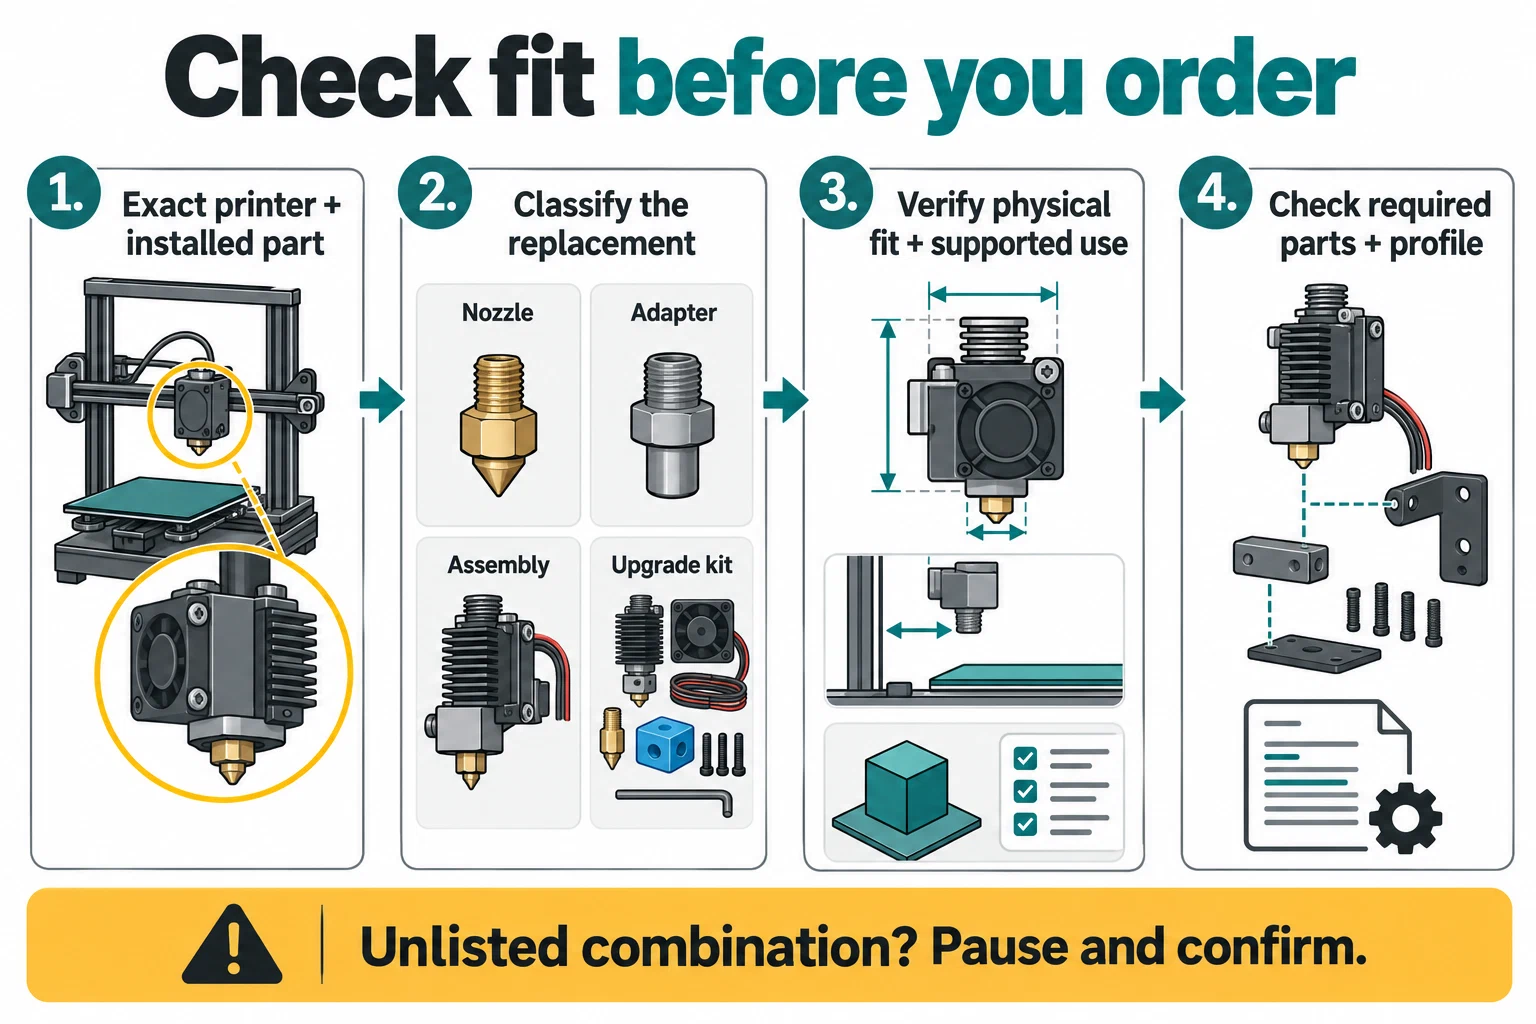
A replacement can be a nozzle, an adapter plus nozzle, an integrated hotend, an extruder assembly, or a coordinated upgrade kit. Those are different purchase decisions. Similar threads, product names, or a broad phrase such as “fits this printer family” do not prove that every nozzle, material, feeder path, or profile is suitable.
Start with the exact printer model and variant, its hardware revision, and the part currently installed. Then check the exact replacement part number against the current manufacturer instructions. If the configuration is not listed, pause and ask the manufacturer or seller for written model-specific confirmation before ordering.
Build a fit record
Write down these details before comparing products:
- Printer: full model name, variant or generation, hardware revision, and any optional toolhead or feeder installed.
- Installed assembly: hotend or extruder part number, whether the nozzle is replaceable or integrated, interface or adapter in use, and current nozzle material and diameter.
- Material path: filament product and filler, which tool or hotend will print it, and whether the path goes through an AMS, hub, drybox, or direct feed.
- Control state: firmware version, slicer and printer preset, nozzle or hotend profile, and any required calibration or alignment after the change.
- Purchase scope: the exact part number, everything included in the kit, and whether the change requires a matching plate, idler, adapter, cable, or other component.
Use that record to answer two separate questions: will the part physically fit the named machine, and does the manufacturer support the intended material, temperature, feed route, and profile with that combination? A “yes” to the first question does not answer the second.
Identify what the listing actually replaces
| Purchase type | What to verify | Common reason to stop and recheck |
|---|---|---|
| Replacement nozzle | Exact hotend interface, supported diameter/material, and the printer’s replacement procedure | The nozzle looks similar, but the maker lists another interface or a complete hotend instead |
| Adapter plus nozzle | The adapter’s exact printer list, the nozzle family it accepts, and separate material/profile limits | The adapter is listed for the printer, but the intended nozzle or filament combination is not |
| Complete or integrated hotend | Exact model and tool position, included nozzle, material routes, and required firmware/profile state | The assembly name is shared across variants or the nozzle is not a separate replaceable part |
| Extruder, feeder, or hub component | Exact model/revision, cable or hub type, filament path, and compatible firmware | A “universal” device still has model-specific hubs, cables, or feed restrictions |
| Coordinated upgrade kit | Every included and required component, model-specific branch, profile, and recalibration step | The hotend is sold separately from a required idler, plate, adapter, or software setup |
Read compatibility examples as bounded lists
Prusa’s Nextruder V6 adapter page lists the MK4S, MK3.9S, MK4, MK3.9, XL, CORE One and CORE One+, CORE One L and CORE One L+, and Signature Oak. The adapter enables V6-compatible nozzles on those listed printers. That fit list does not establish that every V6 nozzle is suitable for every material or profile; check the nozzle maker’s instructions as a separate step.
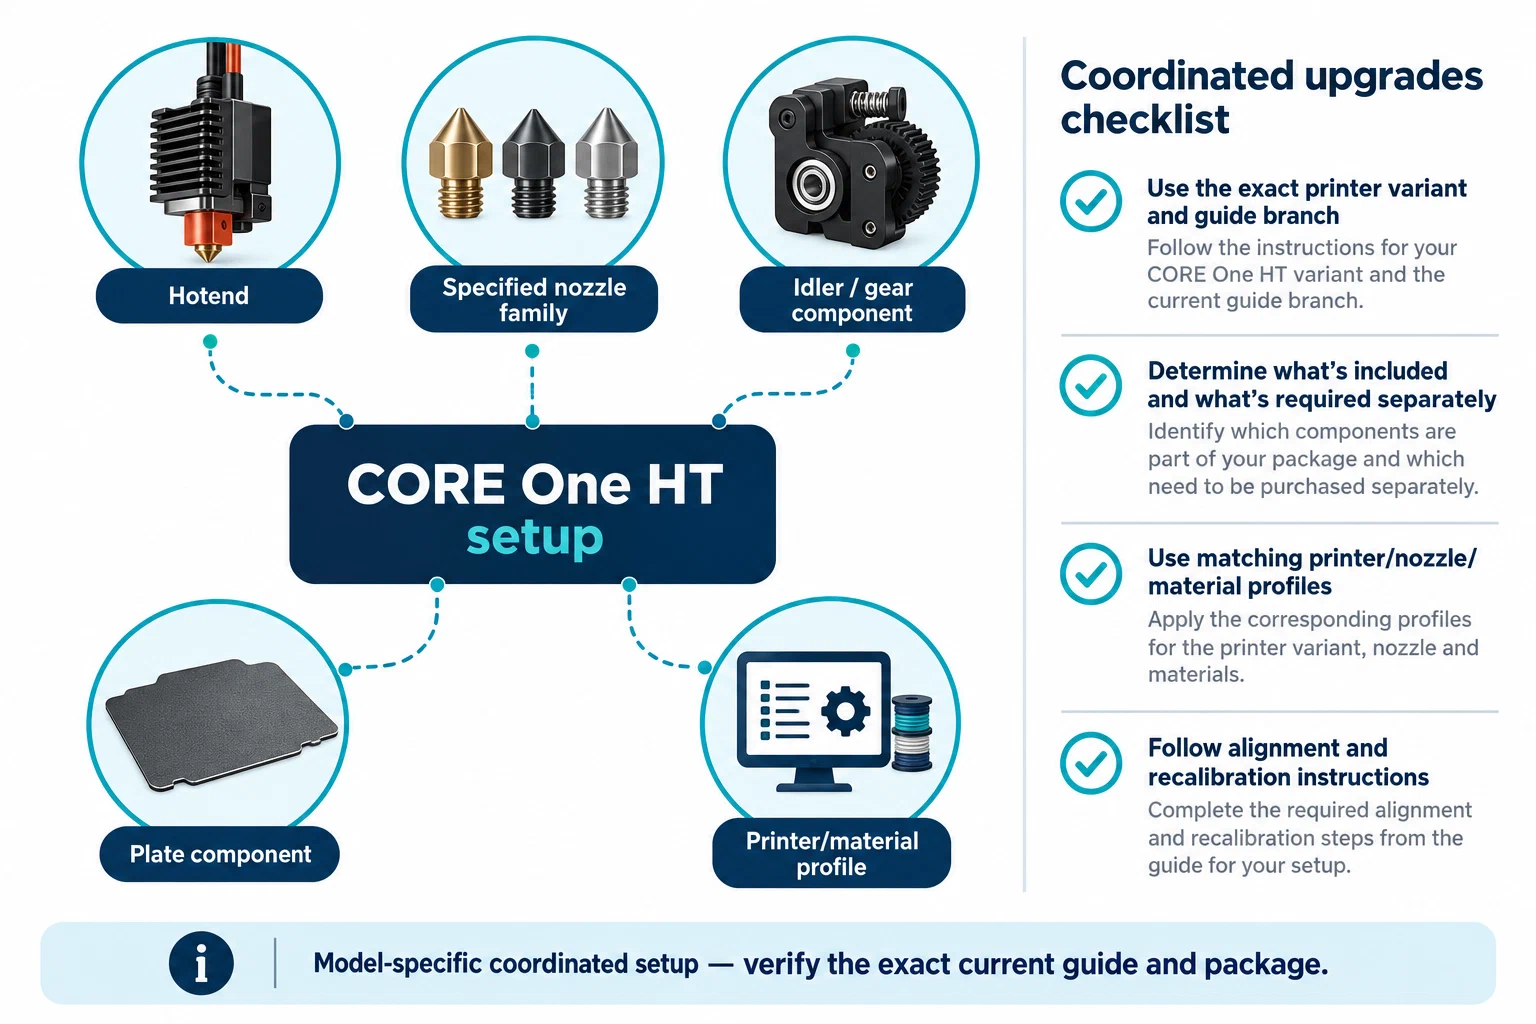
The CORE One HT hotend is a coordinated configuration. Prusa lists the CORE One family variants, specifies E3D ObXidian Standard Flow 500 nozzles in 0.4 or 0.6 mm, and excludes standard Prusa, high-flow, and standard ObXidian nozzles. Its use guidance also calls for the matching printer/nozzle and HT filament profiles and required gearbox alignment. The upgrade guide has model-specific branches and includes main-plate/idler work and recalibration; use that exact guide for the actual installation sequence.
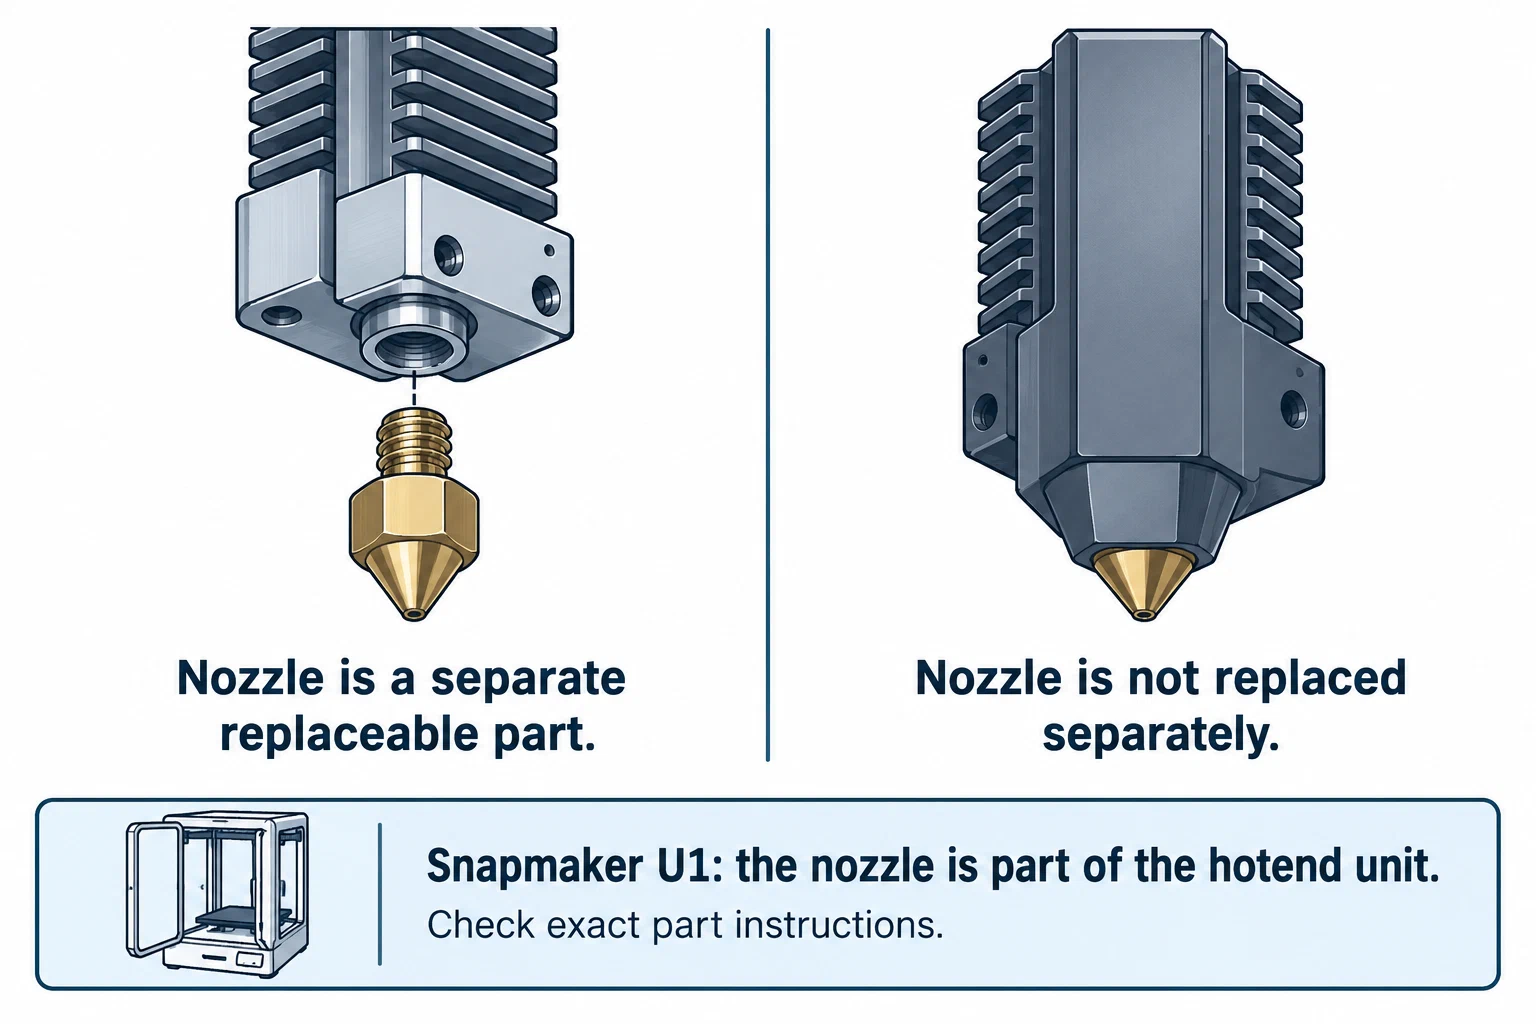
Snapmaker describes the U1 nozzle as part of an integrated hotend unit, so the nozzle is not replaced separately. It offers hardened-steel U1 hotends for users who need them. Its separate Liber high-flow guidance does not recommend high-flow use with CF-, GF-, or wood-filled filament or TPU; it directs those materials to a suitable standard hotend, with hardened steel for CF/GF wear. Hotends in one print job must use a common nozzle diameter, and the sliced flow type and diameter must match the installed setup.
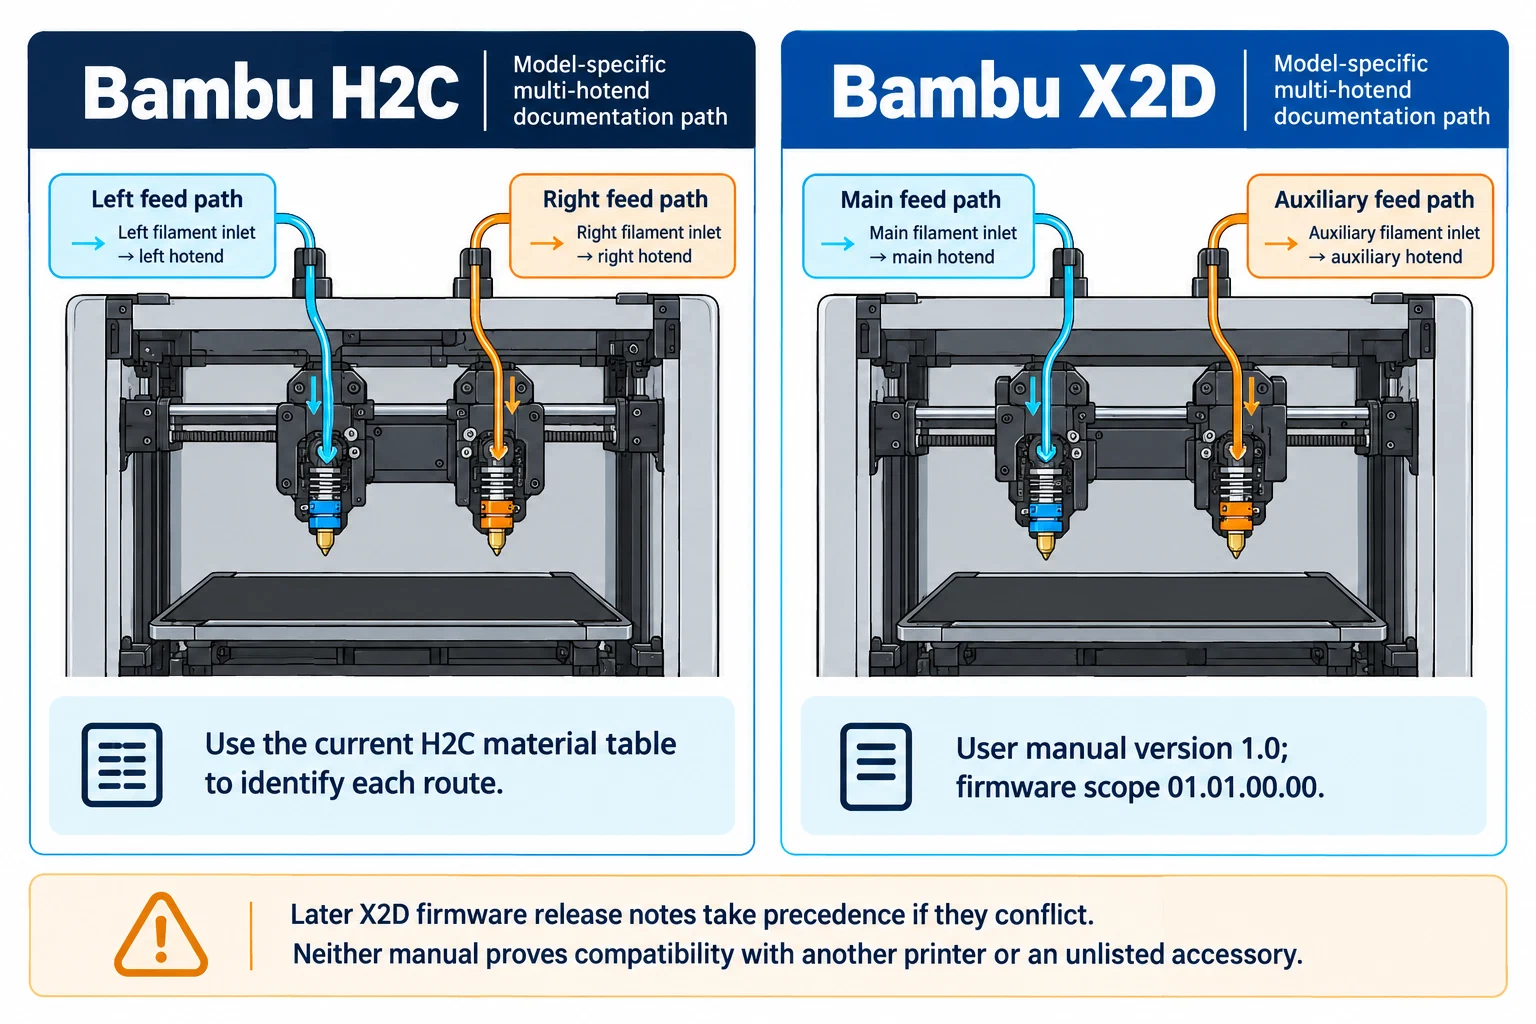
Multi-hotend printers need the same exact-path check. The H2C manual assigns
different material routes to its left and right hotends; use the current H2C
material table and see Choosing nozzle diameter
for the cited examples. The X2D version 1.0 manual distinguishes main and
auxiliary filament paths and is scoped to firmware 01.01.00.00; it says
later firmware release notes take precedence in a conflict. Neither manual
establishes compatibility with a different printer or an unlisted accessory.
Accessory bundles can also split the device from its connection hardware. QIDI describes its BOX unit as universal but warns that the Plus4 hub data cable differs from the Q2/Max4 cable and must not be interchanged. Its connection overview is not a complete conversion matrix. Confirm the exact printer, hub, and cable together rather than assuming a universal-device description covers every required part.
Confirm the complete change before ordering
- Find the part number in the current compatibility page for the exact printer variant. Confirm that the listing describes your installed assembly, not only a related model family.
- Check whether the proposed part is a nozzle, adapter, integrated hotend, extruder, feeder, or kit. Confirm the required matching components and whether any cable, hub, idler, plate, or adapter is separate.
- Read the material and feed-path table for the actual filament product and tool. Keep diameter, nozzle material, temperature, and high-flow limits distinct.
- Confirm the required firmware, slicer preset, profile, alignment, and calibration in the manufacturer’s current instructions. Do not assume the old profile or stored G-code remains valid after a hardware change.
- Save the product page and instructions with the printer variant, part number, and software version you checked. Recheck before purchase if the product or firmware has changed.
Do not order on appearance, thread size, a compatible-adapter claim, or a family name alone. If a required interface, material route, or variant is missing from the documentation, treat it as unknown. Follow the machine’s service instructions for replacement work; this guide is a purchase-time fit check, not an installation procedure. After an approved change, use Adapt a profile after a hardware or firmware change and verify the new setup with a controlled print.
For diameter trade-offs, continue to Choosing nozzle diameter . For filled materials, compare the carrier and wear requirements in Brass versus hardened nozzles . For dryer, drybox, and feeder choices, see Dryer, drybox, and enclosure equipment .
Back to top ↑